


I used to throw on whatever top looked clean and call it an outfit. Then I’d catch my reflection in store windows and wonder why I looked so… amateur. After watching women who always looked put-together, I realized they weren’t just blessed with expensive clothes — they followed a system. This 7-step formula changed how I approach getting dressed, and now strangers actually compliment my “expensive” outfits that cost under $100 total.
What You’ll Need for This Formula
Before we dive into the steps, gather these pieces from your existing wardrobe. You don’t need to buy anything new — this method works with what you already own.
- One structured or fitted top (blouse, sweater, or tailored tee)
- A foundation piece (camisole, bodysuit, or fitted tank)
- Bottoms that create clean lines (trousers, well-fitted jeans, or a skirt)
- One third-layer piece (blazer, cardigan, or jacket)
- Two anchor accessories (belt, watch, or statement jewelry)
- Shoes that complement your outfit’s formality level
- A full-length mirror for proportion checks
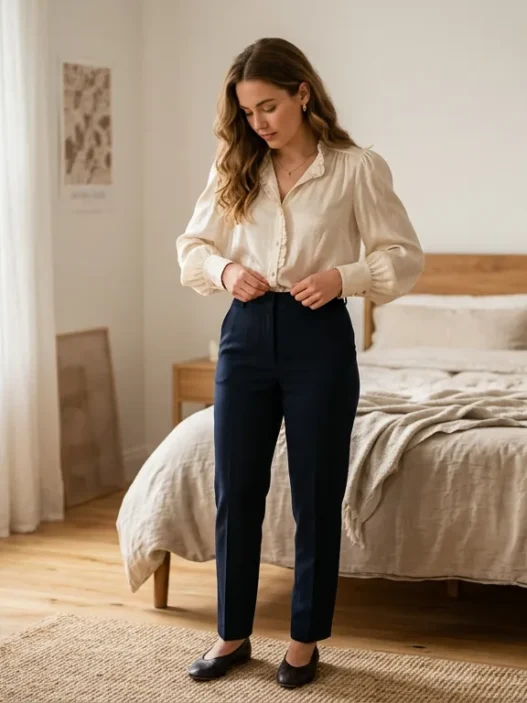
Step 1: Choose Your Power Top
Your power top sets the entire outfit’s tone. I start here because it’s the piece people notice first when they look at you. The key is structure — avoid anything that’s too loose, wrinkled, or shapeless.
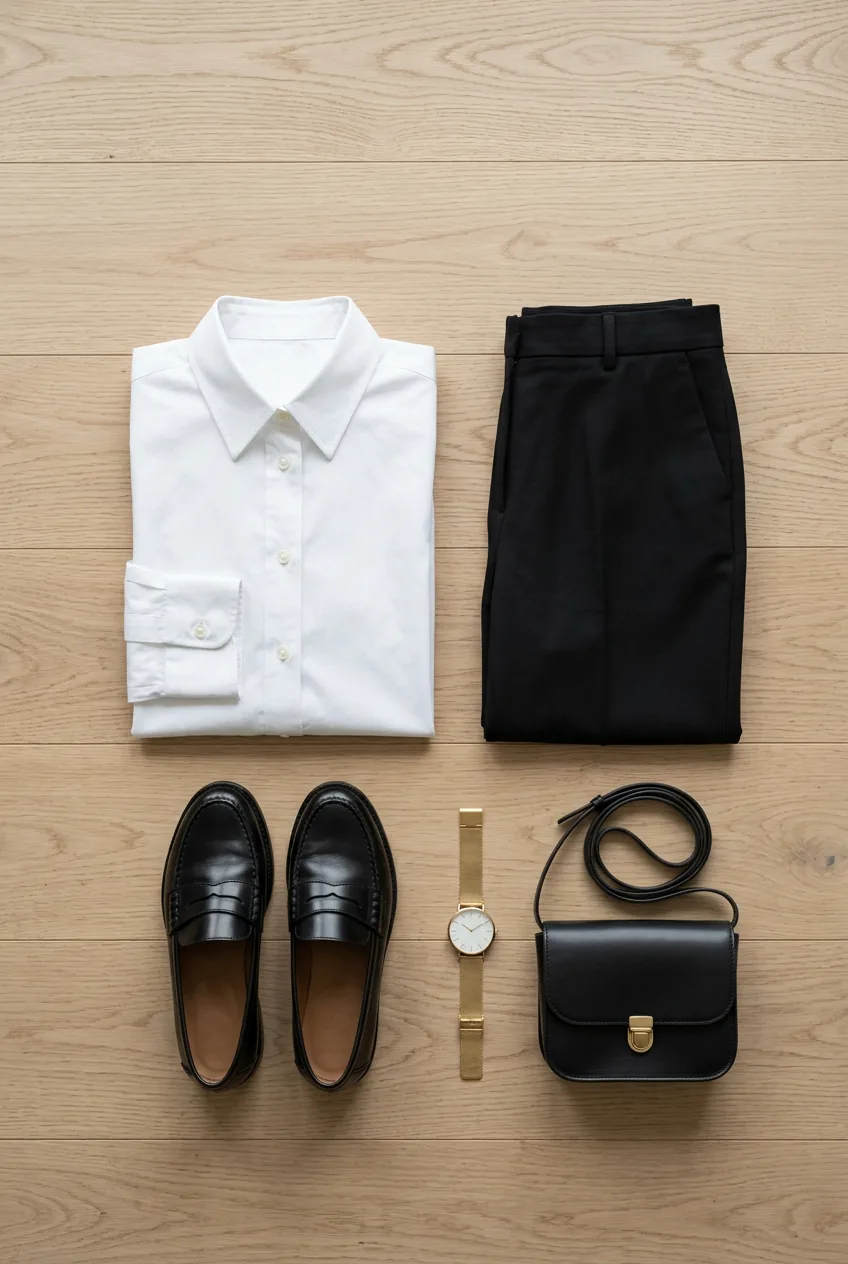
Look for tops with defined shoulders, clean necklines, or interesting details like subtle texture or quality buttons. A silk blouse, fitted sweater, or well-cut cotton shirt all work perfectly. The fabric should hold its shape and not cling uncomfortably.
I learned this rule the hard way: if you wouldn’t wear the top to meet someone important, it’s not your power piece. Choose something that makes you stand a little taller when you put it on.
Step 2: Create the Foundation Layer
Most people skip this step and wonder why their outfits look unfinished. The foundation layer goes under your power top and creates smooth lines. Think of it as your outfit’s architecture.
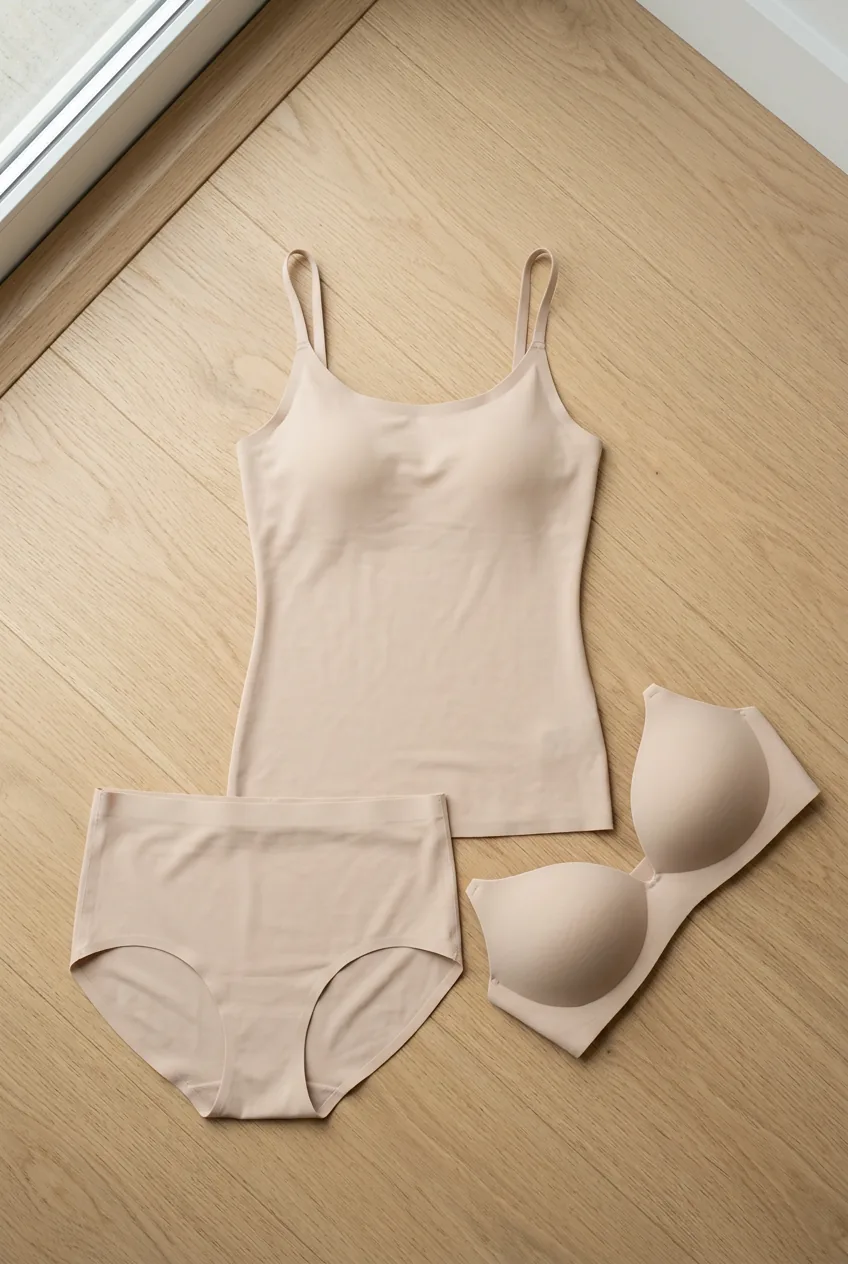
A fitted camisole, bodysuit, or tank in a neutral color prevents any gaping, bunching, or awkward lines. This layer should be invisible to others but makes everything sit better on your body.
The foundation piece should match your skin tone or be one shade darker. White works for lighter skin, while deeper tones need beige, brown, or black foundations. This subtle detail makes your outfit look professionally styled.
Step 3: Add Your Statement Bottom
Now we build the lower half. Your bottom should complement your power top without competing for attention. If your top has pattern or texture, choose solid bottoms. If your top is simple, you can add interest with your bottom choice.
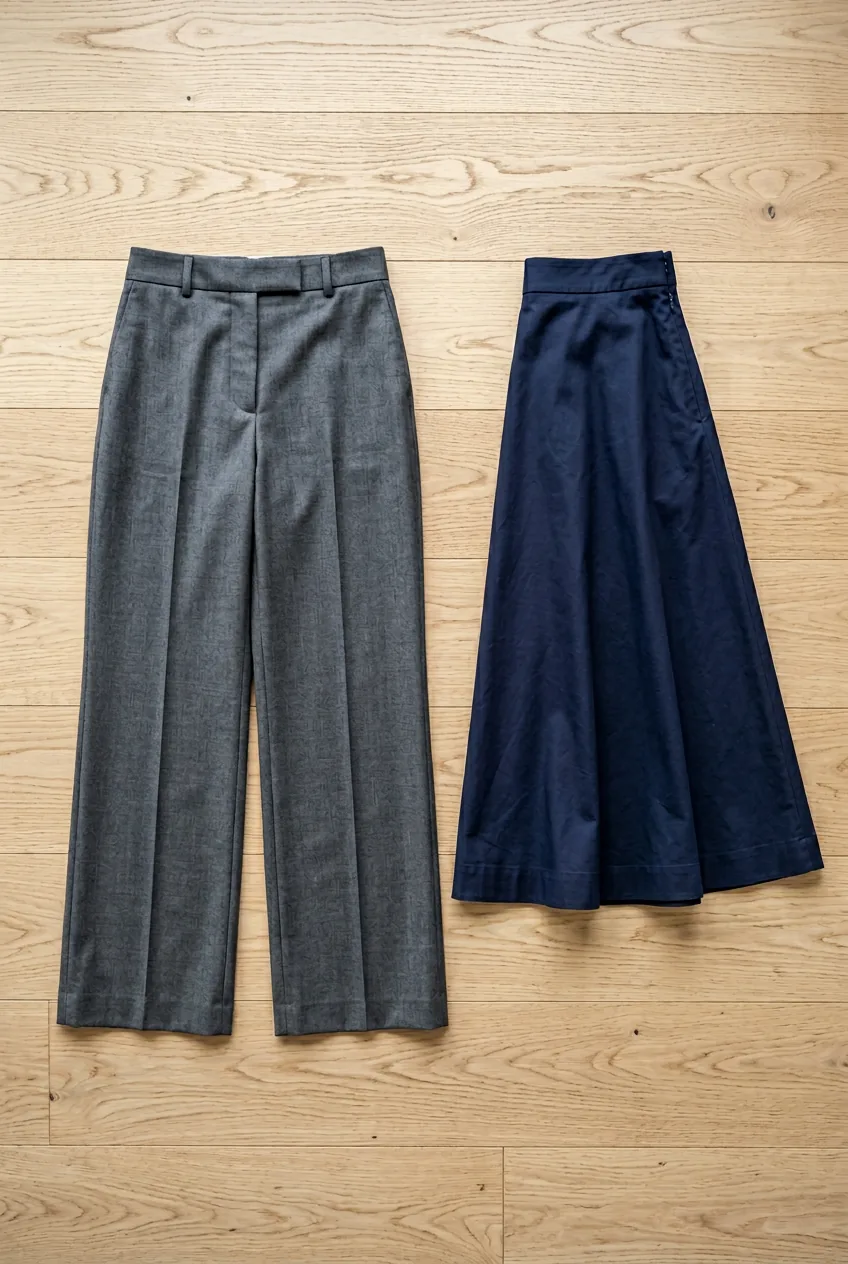
Well-fitted trousers, dark wash jeans, or a midi skirt create the best foundation. The key word is “fitted” — not tight, but following your body’s natural lines without excess fabric bunching anywhere.
Pay attention to the rise of your bottoms. High-waisted pieces paired with tucked tops create length and sophistication. Mid-rise works for most body types, while low-rise rarely looks expensive in 2026.
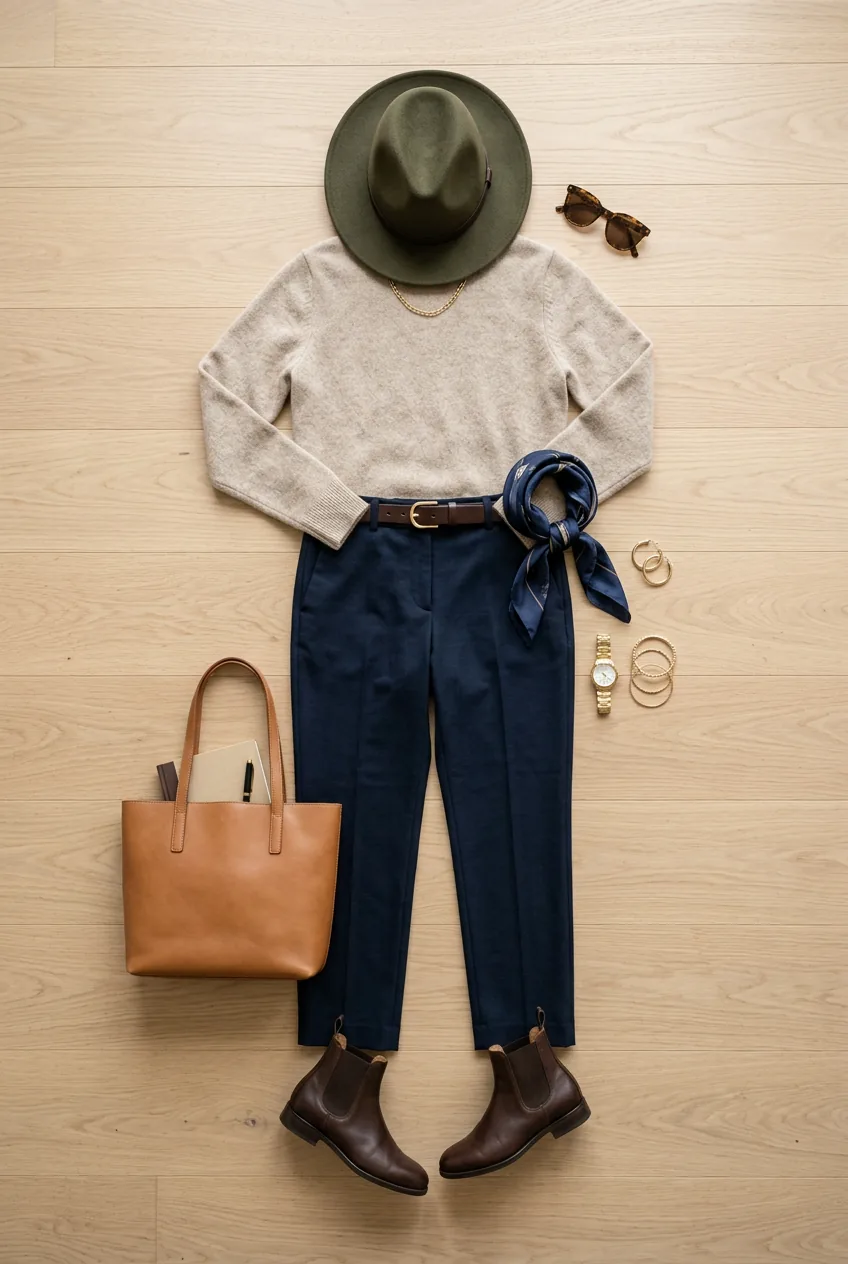
Step 4: Master the Proportions
This is where expensive-looking outfits are made or broken. The proportion rule I swear by: create visual balance between your top and bottom halves. If your top is loose, your bottom should be fitted. If your bottom is wide, your top should be more structured.

Stand in front of your mirror and check the lines. Your outfit should create a clear silhouette — either an hourglass, column, or A-line shape. Avoid the “box” silhouette where everything is loose and shapeless.
I used to think loose and comfortable always looked casual-chic. Wrong. I looked like I was wearing my big sister’s clothes. The proportion trick changed everything — now I get compliments on my “designer” outfits that are actually from Target.
This Stylist Explains It Perfectly
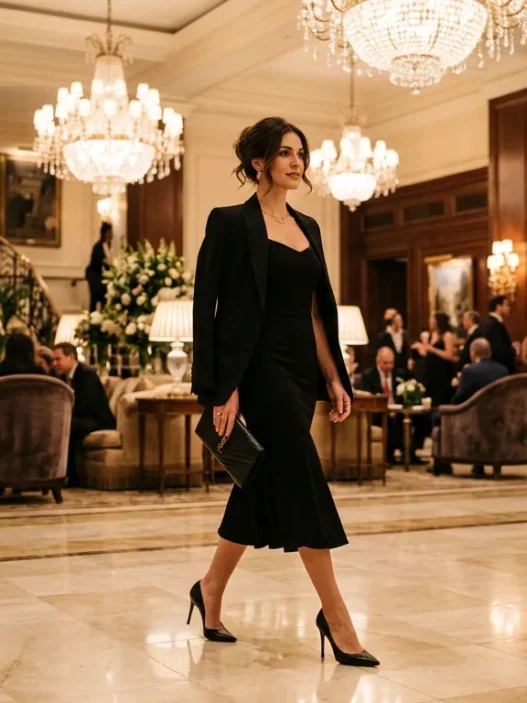
Step 5: Layer Your Third Piece
The third piece elevates everything. This could be a blazer, cardigan, vest, or structured jacket. It adds sophistication and makes your outfit look intentional rather than thrown together.
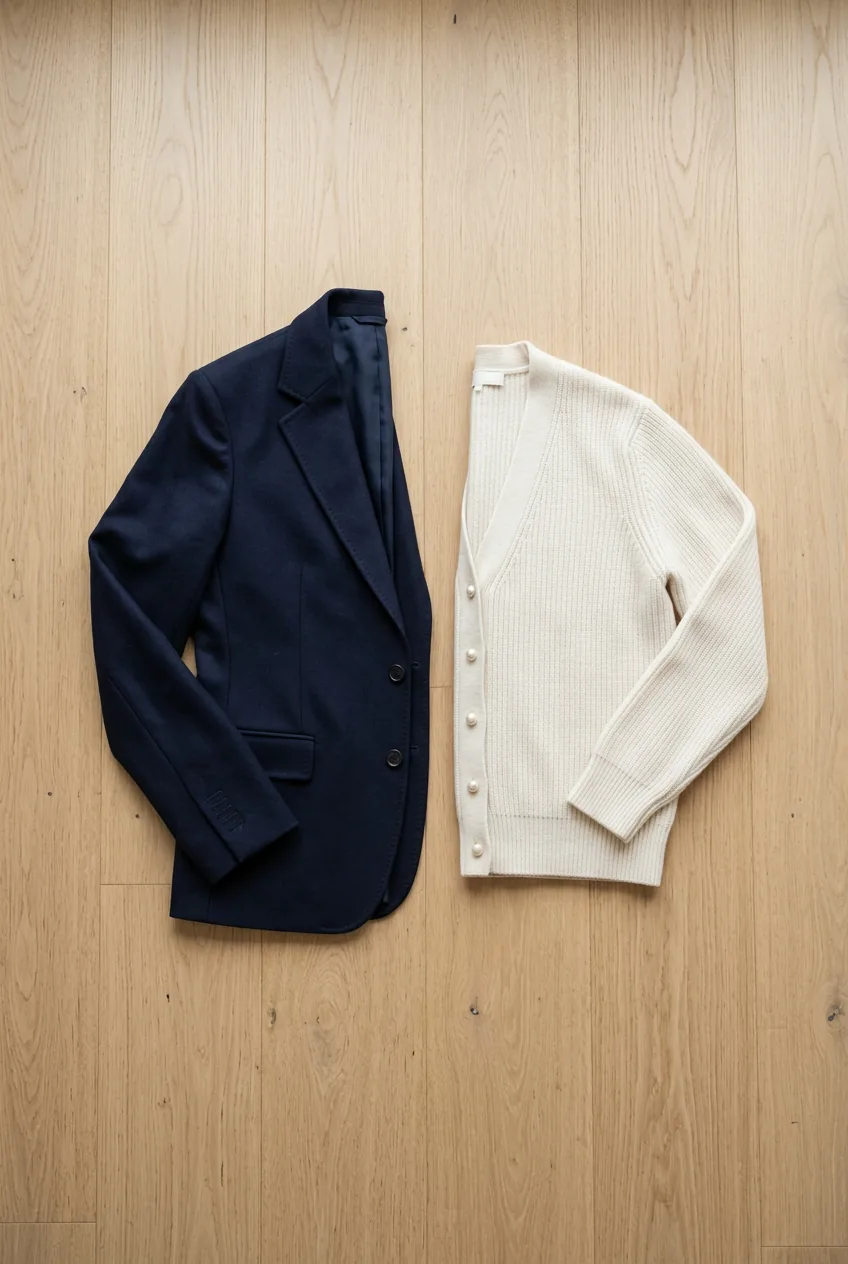
The third piece should contrast with your base layers in either texture, color, or structure. A blazer over a soft blouse, a cardigan over a fitted tee, or a vest over a flowing shirt all create visual interest.
Don’t always wear it — sometimes just carrying your blazer or draping it over your shoulders adds that expensive touch. The key is having the option to add or remove the layer as needed throughout your day.
For those putting together spring fashion outfits, a lightweight blazer or linen jacket works perfectly as your third piece without overwhelming the seasonal lightness.
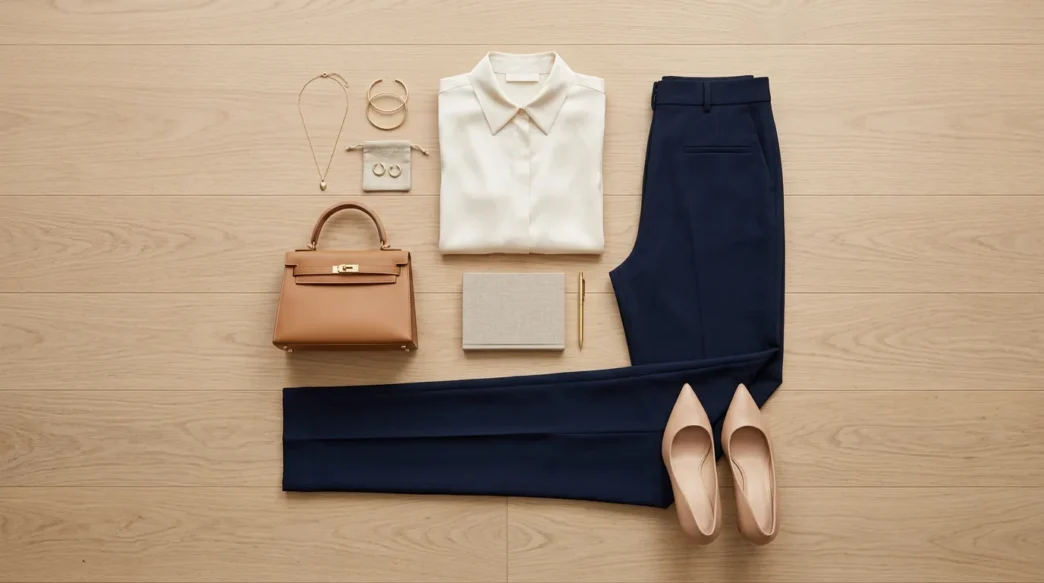
Step 6: Select Your Anchor Accessories
Anchor accessories pull your whole outfit together. I limit myself to two statement pieces maximum — more looks chaotic. Choose accessories that complement rather than compete.
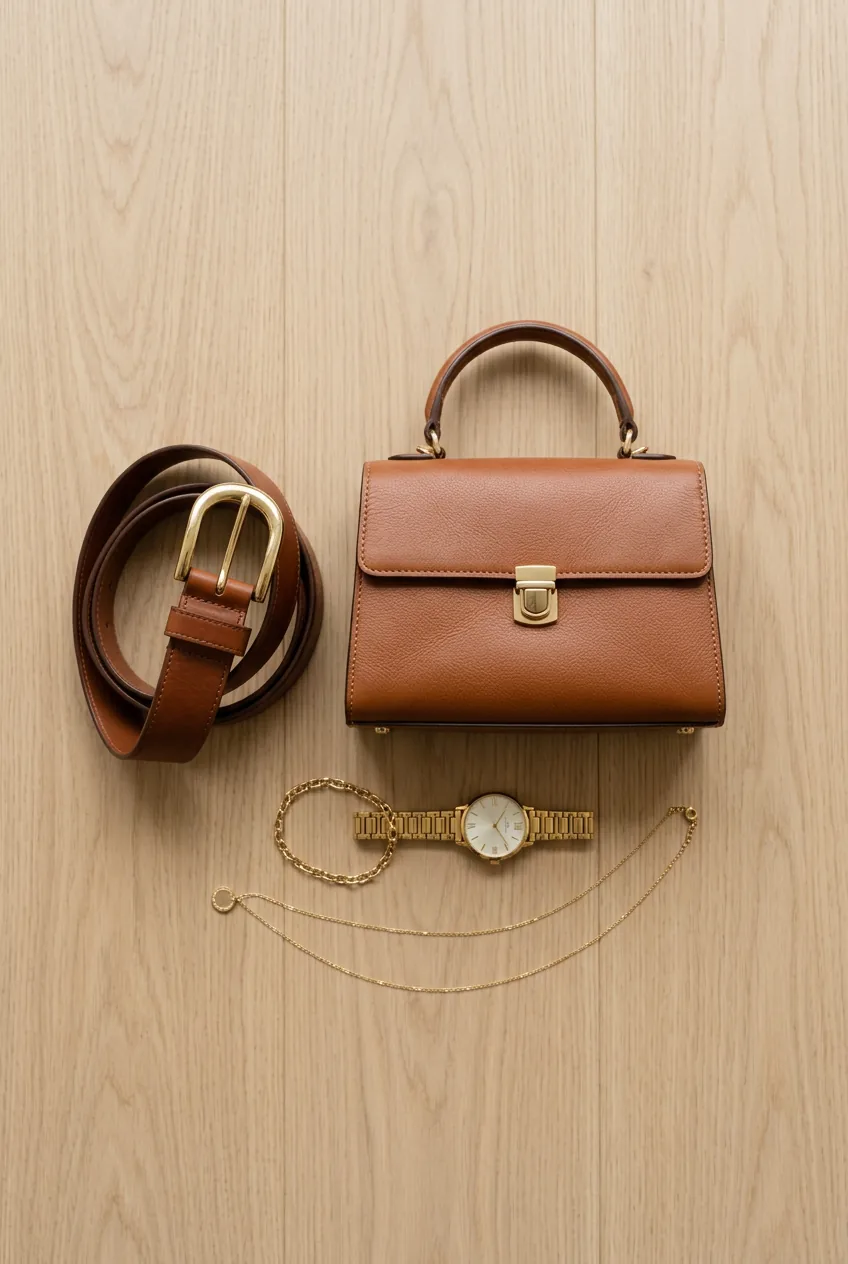
A structured belt defines your waist and adds polish. A classic watch or delicate jewelry adds refinement. A quality handbag (even a good fake) elevates everything. The key is choosing pieces in similar metal tones or color families.
Think about the outfit’s overall vibe. Clean, minimal pieces work for sleek looks, while textured or vintage accessories complement more bohemian styles.
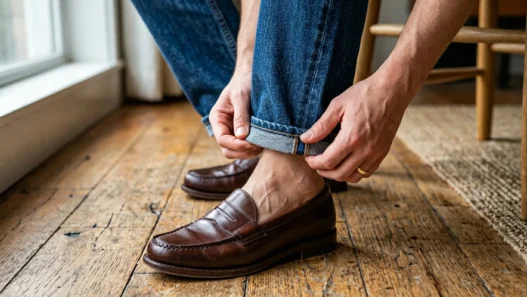
Step 7: Fine-Tune the Finishing Details
The final step separates amateur from professional styling. Check every detail in your full-length mirror. Are your sleeves the right length? Is anything bunching or pulling? Do your shoe formality and outfit formality match?
Tuck, untuck, or half-tuck your top based on the proportions you created in Step 4. Roll sleeves to show your wrist bone for a casual touch, or keep them crisp and straight for formality. Make sure your shoes work with your pant length — no awkward gaps or bunching.
The final detail check includes your hair and makeup intensity matching your outfit’s polish level. A casual outfit with full glam makeup looks mismatched, just like a polished outfit with messy hair feels incomplete.
If you’re drawn to retro styling, incorporating some Y2K fashion trends in your accessories or silhouette choices can add a fresh, contemporary edge to this classic formula.
Questions I Get About This Method
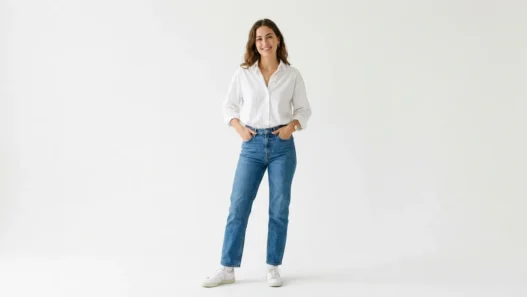
Can I use this formula for casual outfits too?
Absolutely. The same principles work whether you’re wearing jeans and a tee or business attire. The key is choosing the right level of structure and polish for your occasion while maintaining good proportions.
What if I don’t own a blazer or structured jacket?
A cardigan, denim jacket, or even a button-up shirt worn open can work as your third layer. The goal is adding visual interest and polish, not necessarily formality.
How do I know if my proportions are right?
Take a photo of yourself in the outfit. If you can clearly see your body’s shape and the outfit creates clean lines, you’ve got it right. If everything blends into a shapeless blob, adjust the fit of one piece.
Should I follow this formula every single day?
Use it as your foundation, then break rules intentionally once you understand them. Some days call for comfort over structure, and that’s perfectly fine. This formula is for when you want to look polished and put-together.
This formula transformed my relationship with getting dressed. I used to stand in my closet feeling overwhelmed by choices. Now I have a system that works every time, and I actually enjoy putting outfits together. The best part? People assume I spent way more on my clothes than I actually did. That’s the power of good styling over expensive shopping.