






Last summer I spent three weeks coordinating outfits for a beach family session — texting relatives, pinning fabric swatches, the whole thing. We showed up on the day and it was 91°F with 80% humidity. My carefully chosen linen shirts were soaked within ten minutes, one of the kids had a visible sweat patch before the photographer even set up, and my sister’s flowy dress was basically plastered to her legs in every single shot. I learned more about dressing for outdoor photos that day than I had in years of styling. This guide is everything I wish I’d known before that disaster.
Your Humidity-Ready Family Photo Outfit Roadmap
- What You’ll Actually Need
- Step 1: Read the Weather Before You Open Your Closet
- Step 2: Choose a Palette That Works in Flat Light
- Step 3: Pick Your Anchor Outfit First
- Step 4: The Humidity Problem — Fabric Swaps That Save Everything
- Step 5: Layering for That ‘Put-Together’ Look Without Overheating
- Step 6: The Wind-Proof Version for Outdoor Sessions
- Step 7: Making It Work in the Rain (Yes, Really)
- Questions I Get About This
What You’ll Actually Need
Before we get into the steps, a quick checklist of things that will make this process so much smoother. None of it is complicated — it’s mostly about having information and options ready before you start pulling things off hangers.
- A 10-day weather forecast for your shoot date (the hourly breakdown matters more than the daily summary)
- A humidity reading — anything above 65% counts as humid for styling purposes
- Swatches or phone photos of everyone’s existing wardrobe options
- A color palette reference (I use Pinterest boards or pull from the shoot location’s dominant colors)
- Access to at least one fabric store or retailer that carries moisture-wicking blends
- A garment steamer — not an iron, a steamer. It’s faster and gentler on delicate fabrics.
- Fashion tape and a mini sewing kit for emergencies
- A backup outfit for at least one person (usually the smallest kid — they’re always the wildcard)
Step 1: Read the Weather Before You Open Your Closet
This sounds obvious but almost nobody actually does it properly. Not just “is it going to rain” — I mean looking at the dew point, the UV index, the cloud cover percentage. Because all of those things change how your clothes photograph and how comfortable everyone will be.
A dew point above 60°F means fabrics will cling. A UV index above 7 means harsh shadows even in mid-morning. Heavy cloud cover at 80% is actually a gift for outdoor portraits — flat, diffused light that makes every color pop evenly. Start here. Knowing what you’re working with shapes every decision after this.
I like checking the summer outfit ideas for any occasion section of my wardrobe planning notes alongside the forecast — it helps me cross-reference what reads well on camera in different lighting conditions.
Step 2: Choose a Palette That Works in Flat Light
Humid days almost always mean overcast skies at some point during the shoot. And flat, grey light — while gorgeous for skin tones — can absolutely kill certain color combinations. Neons flatten into muddy tones. Super dark navies and blacks can look heavy and absorb any ambient warmth. Pure white reads either too bright or slightly grey depending on the exact cloud density.
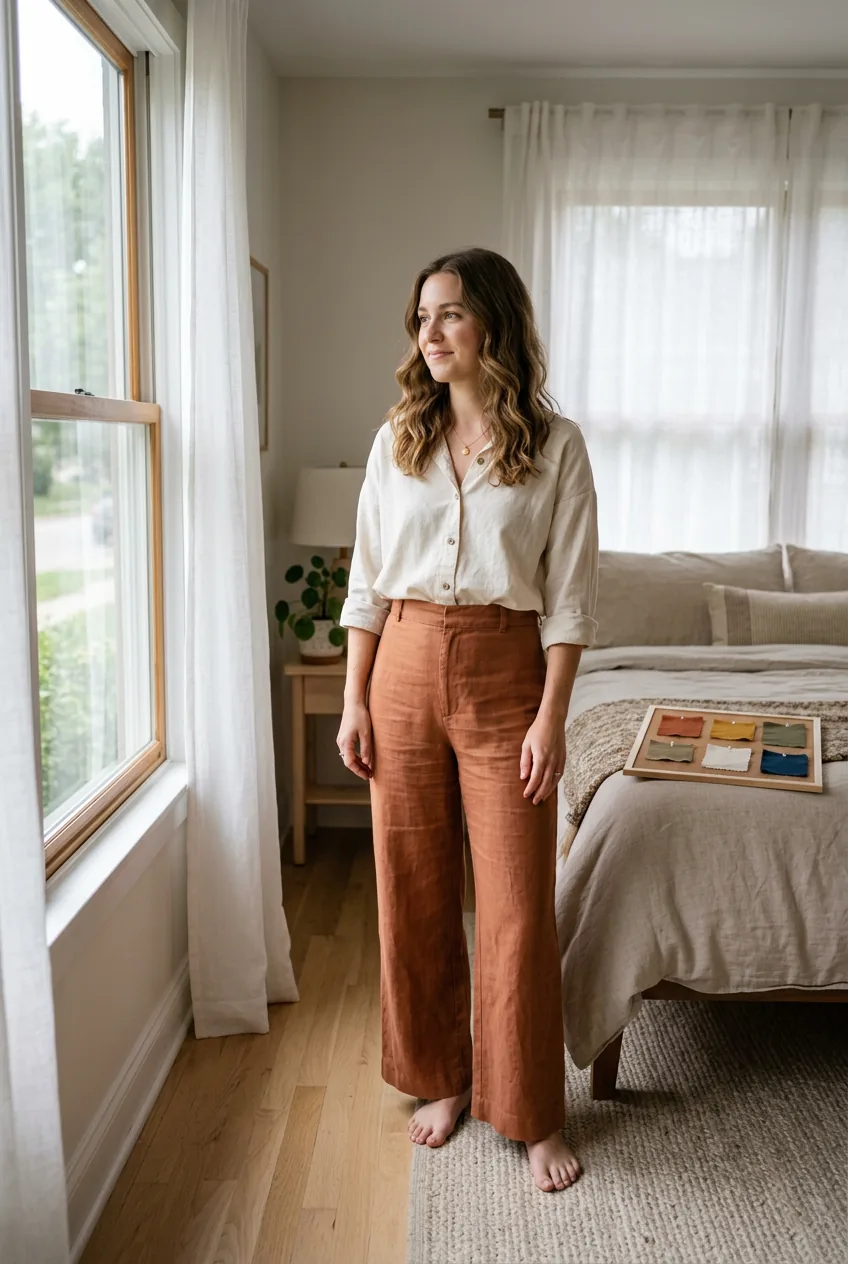
What works beautifully in flat light: warm neutrals, dusty tones, sage green, terracotta, warm creams, soft blues. Basically anything that already has a slightly muted, faded quality to it. These shades sit in the mid-range of contrast and look intentional even when the sky isn’t cooperating.
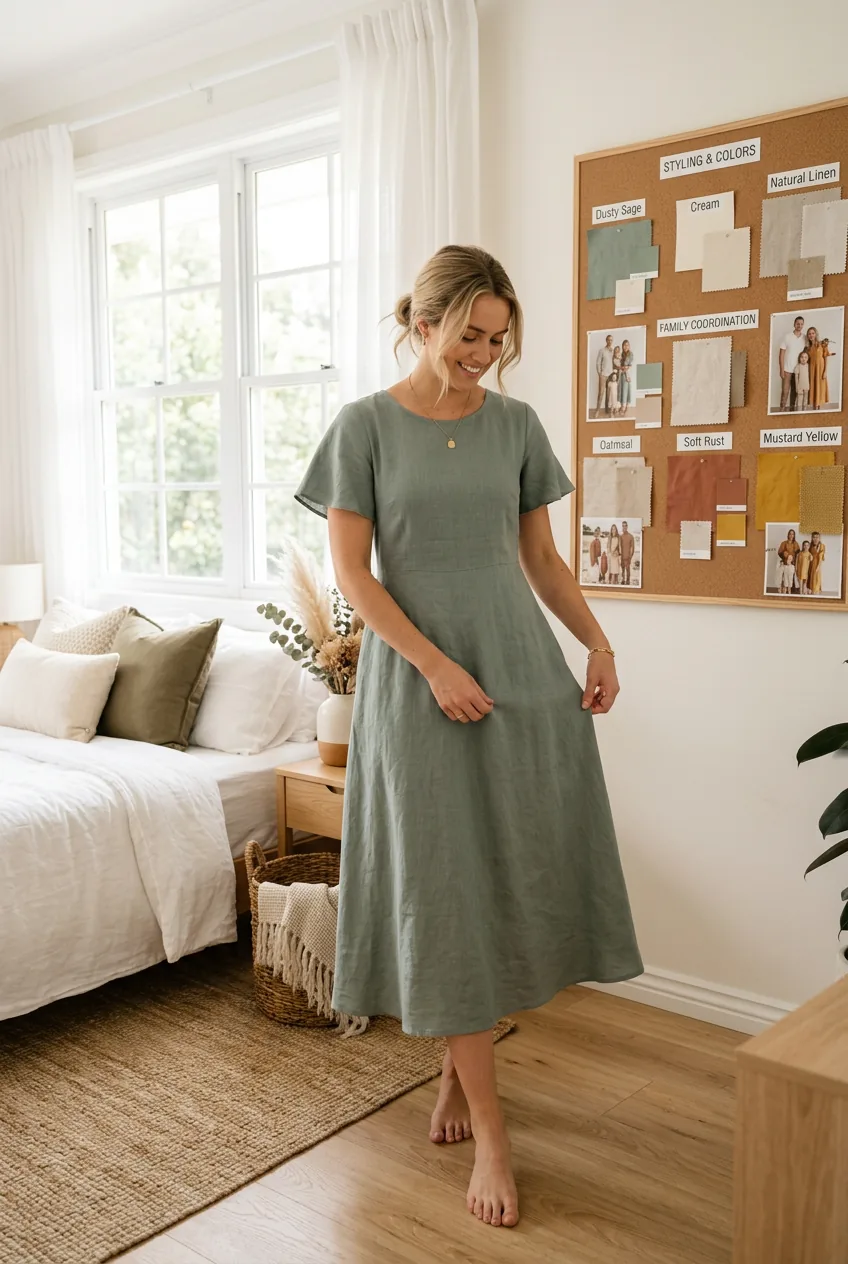
My go-to palette for humid summer sessions is something I call “warm sand” — cream, rust, sage, and a warm denim. It coordinates without being matchy-matchy, and every member of the family can find something in those tones that suits their skin undertone. You can check out how color coordination for group looks works specifically for photography if you want to go deeper on this.
Step 3: Pick Your Anchor Outfit First
Every great group look starts with one person. The anchor. This is usually the person with the most defined personal style, or honestly, the person whose wardrobe has the fewest options — because then everyone else has to work around them rather than the other way around.
Once you have your anchor outfit locked in, you’re not starting from scratch for everyone else. You’re pulling colors, textures, and silhouettes from that one look and letting them guide every other choice. If the anchor piece is a dusty sage midi dress, you’re working with sage, cream, warm white, and maybe a complementary terracotta for contrast. Simple.
The mistake I made: I tried to coordinate everyone simultaneously — like a puzzle where all the pieces are equal. We ended up with a group that looked like we all just happened to be wearing similar colors, not like a coordinated family. Pick the anchor first. Always. Everything flows from there.
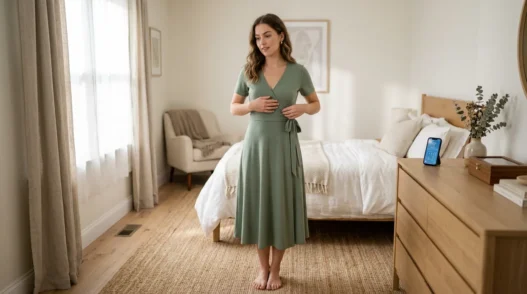
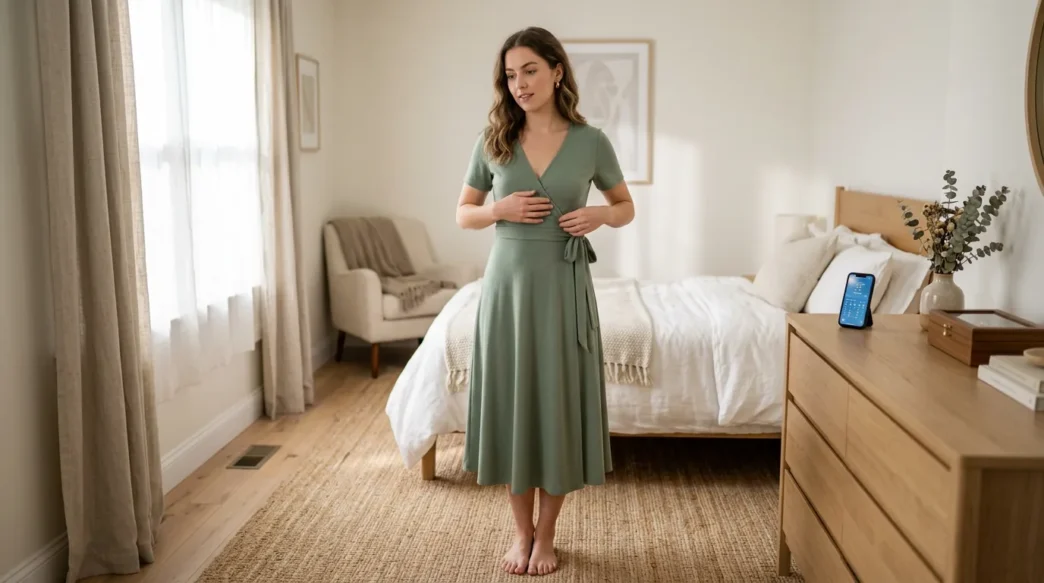
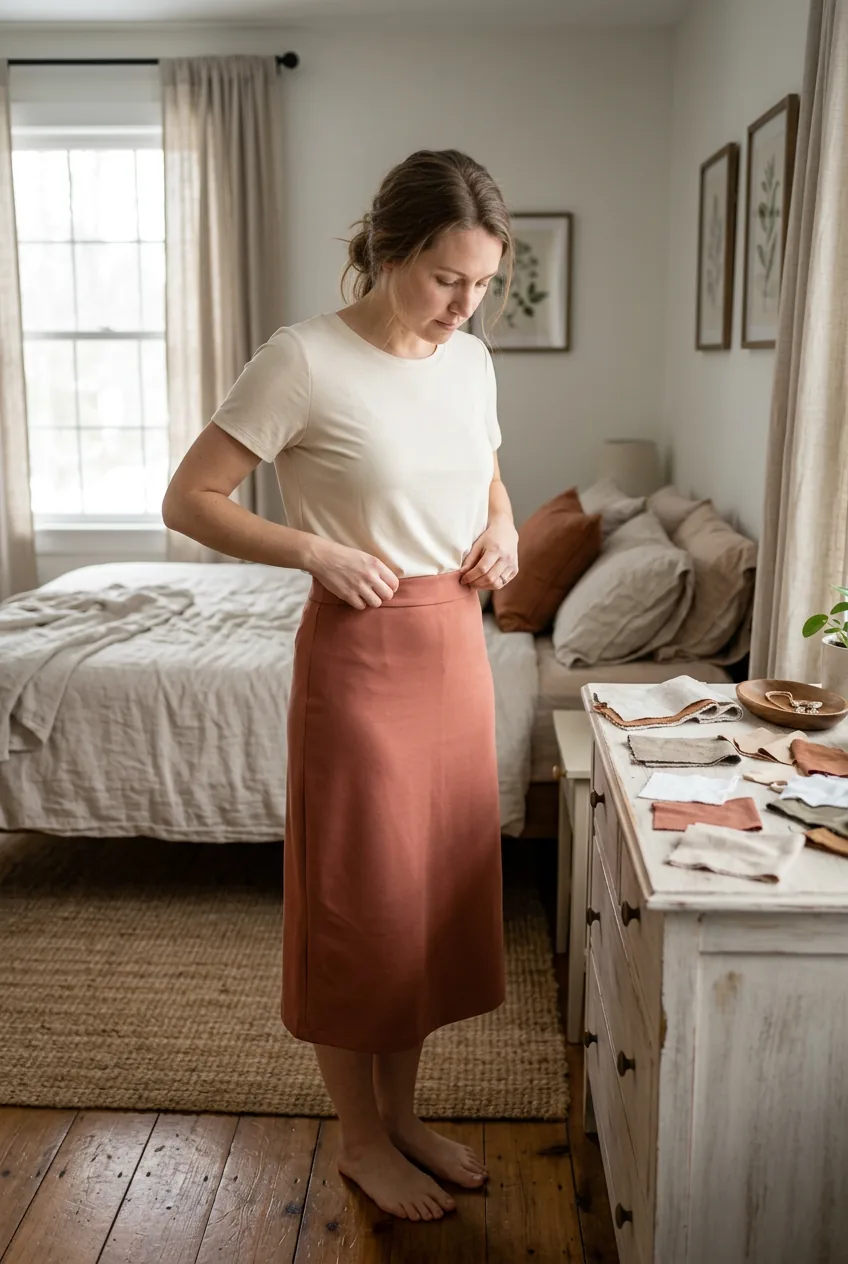
Look at how she’s wearing hers in this photo — the sage wrap dress acts as the anchor and immediately tells you where the rest of the group’s outfits should land tonally. That’s exactly what I mean about one piece setting the visual language for the whole session.
Step 4: The Humidity Problem — Fabric Swaps That Save Everything
Okay. This is the step. Everything before this was setup — this is where the actual weather-proofing happens.
Humidity does specific, predictable, terrible things to specific fabrics. Once you know what to avoid and what to reach for, you’re already ahead of 90% of people planning family photo outfits.
Fabrics to avoid in humidity:
- 100% cotton — absorbs moisture and shows sweat marks almost immediately. Especially brutal in mid-tones like grey and khaki.
- Silk and silk-like synthetics — clings, shows every drop, and loses its shape when damp
- Rayon and viscose — gorgeous in a dry studio, absolute nightmare outdoors. Wrinkles on contact with humidity.
- Heavy linen — I know everyone loves linen for outdoor photos, and I did too, until that beach shoot. Fine-weave linen is okay. Thick linen wrinkles and shows sweat.
Fabric swaps that actually work:
- Moisture-wicking jersey blends — moves sweat away from skin, doesn’t cling, photographs beautifully in soft light
- Fine linen-cotton blends (under 50% linen) — gives you that textured, lived-in look without the disaster potential
- Ponte fabric — structured, holds its shape in heat, doesn’t wrinkle. Great for anyone who needs a more polished silhouette.
- Lightweight chambray — the jeans-adjacent fabric that actually breathes and doesn’t show moisture easily
- Performance chiffon — sounds fancier than it is; basically flowy polyester that handles movement and heat gracefully
You can read up on breathable summer fabrics before you start shopping — knowing your fibers before you hit the store saves a lot of back-and-forth returns.
Step 5: Layering for That ‘Put-Together’ Look Without Overheating
Here’s the thing about family photos in humidity — people want that layered, dimensional look that reads as “we put effort in.” But traditional layering (a denim jacket over a tee, a cardigan over a dress) is a sweating nightmare when it’s 85°F and muggy.
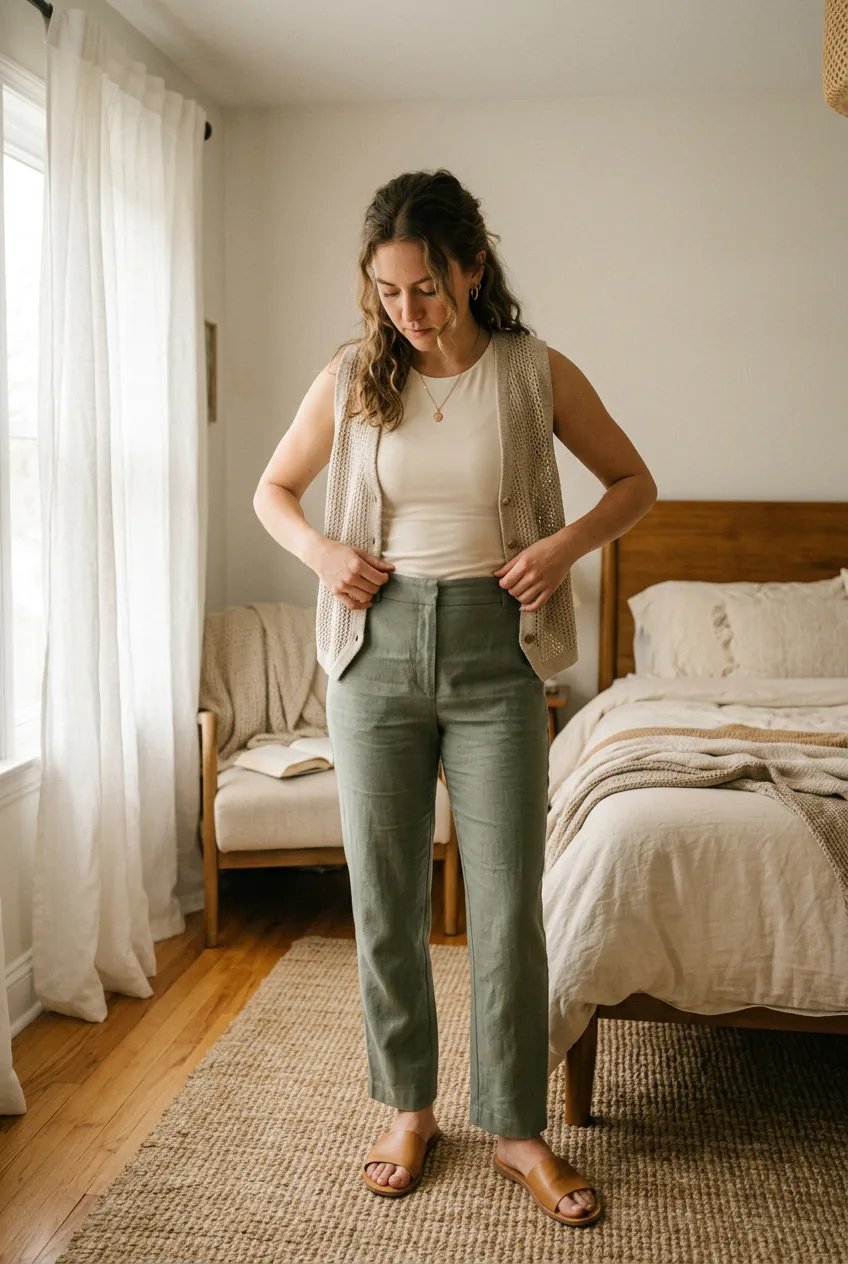
The trick is what I call “surface layering” — adding dimension through texture and detail rather than actual additional garments. A textured knit vest in a breathable open-weave. A lightweight kimono in performance chiffon that you can remove the second the photographer calls a break. A linen-blend button-down left open over a fitted tank, worn as a layer but with all the airflow of a single piece.
For kids specifically: avoid layering entirely. A single well-chosen piece in the right color and fabric will always photograph better than a fussy layered look that they’ll start pulling at after five minutes. Trust me on this one. The parents can carry the visual interest of layering; the kids just need to look comfortable and coordinated.
This approach works beautifully for sessions that have a slightly elevated feel — think of it like the same logic behind stunning birthday outfits where you want polish without the discomfort. Same principle, different context.
Step 6: The Wind-Proof Version for Outdoor Sessions
Humid days and wind often go together — especially in coastal or open field locations. And wind is genuinely the enemy of certain silhouettes that photograph beautifully in still conditions.
Maxi skirts and wide-leg trousers? Gorgeous in a studio. In wind, they either billow dramatically (fine for one shot, chaotic for a session) or fly up entirely (not fine at all). Flowy wrap dresses shift and gap. Hair escapes from careful styling in the first gust.
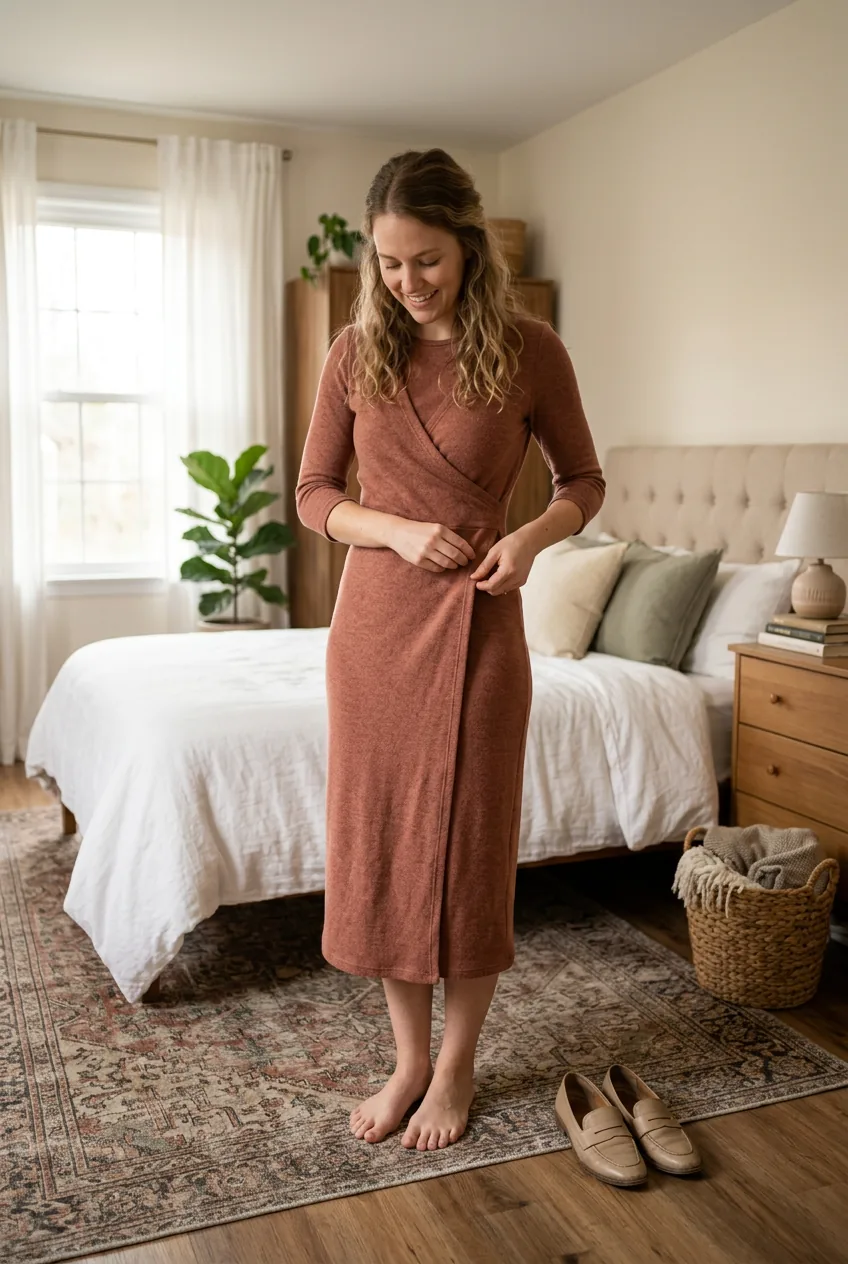
The wind-proof swap list for family photo outfits goes like this: midi lengths over maxi or mini, because a midi hem sits in a zone that doesn’t catch air the same way. Straight-leg or tapered trousers over wide-leg. Fitted wrap dresses with a tie that actually stays tied — or a faux-wrap style where the overlay is sewn in. For tops, anything tucked in or with some weight to it stays put better than a loose blouse.
See how she’s styled the fitted midi in this image — the hem is hitting right at mid-calf, which means even a strong breeze won’t send it flying. That’s the wind-proof sweet spot I’m talking about.
If you’re shooting somewhere particularly exposed, consider styling outfits that would also work for romantic summer evening outfits — those tend to be designed with movement in mind while still reading as intentional and put-together.
Step 7: Making It Work in the Rain (Yes, Really)
Some of the most beautiful family photos I’ve ever seen were shot in the rain. Not because of the chaos — because of the way overcast, rain-diffused light makes skin glow and colors deepen. If your shoot day delivers unexpected drizzle, it’s not automatically a disaster. But you do need to dress for it intentionally.
Rain-ready family photo outfits follow one rule: nothing that changes color or structure when wet. That eliminates the same fabrics we flagged in Step 4, plus adds suede shoes, structured straw accessories, and anything with surface embellishment that will look different damp than dry.
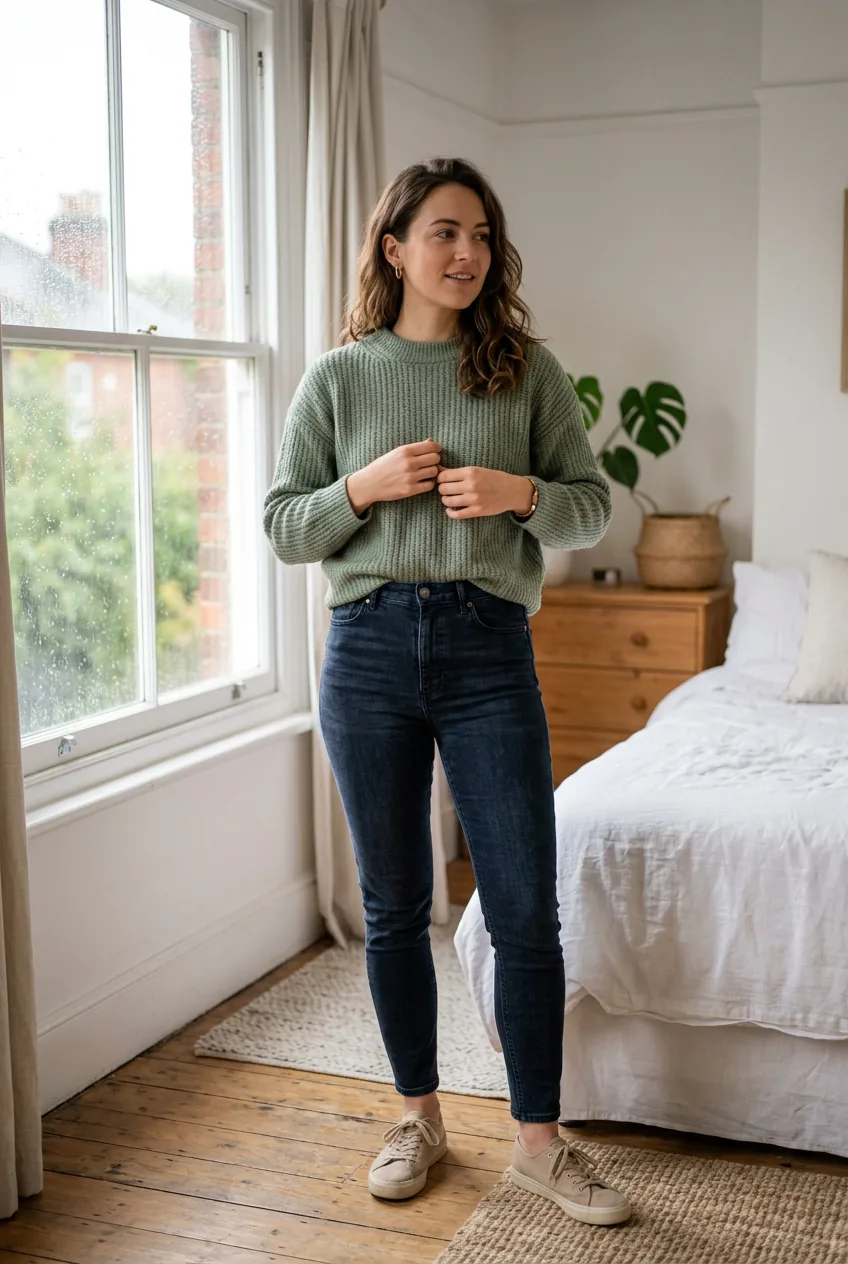
What works: dark-wash denim (doesn’t show water drops as dramatically), ponte and jersey pieces, waterproof or coated canvas sneakers and loafers, performance fabrics. And honestly — a coordinated umbrella or two can become a genuine prop. I’ve seen photographers use them brilliantly.
The mistake I made in a light-drizzle shoot: I let everyone wear their “good” leather shoes because the forecast said “light showers.” Three families, six adults, two kids, one completely soaked leather boot situation. Bring backup shoes. Always. Especially for kids. Even rubber-soled canvas sneakers in a neutral color are better than ruined dress shoes.
There’s also something to be said for how rain-shoot outfits overlap with the kind of thoughtfully-built look you’d pull together for perfect casting audition outfits — controlled, memorable, not dependent on perfect conditions. A look that performs even when the environment doesn’t cooperate.
Questions I Get About This
How far in advance should I start planning family photo outfits?
Ideally three to four weeks out for a larger family group. That gives you time to order pieces online, return what doesn’t work, and do a quick test-wear in the actual weather conditions before the session. One week is doable but stressful — you’re at the mercy of what’s already in everyone’s closets.
Do kids need to match the adults exactly?
Not at all — and honestly, exact matching looks more dated than coordinated now. Kids just need to share at least one color from the adult palette. A child in a sage romper coordinates beautifully with adults in cream and terracotta without matching anyone piece for piece. It’s the palette that unifies, not identical outfits.
What if one family member refuses to cooperate with the color scheme?
This happens constantly, especially with teenagers. My workaround: let them wear what they want in the neutral zone. A plain white, cream, grey, or denim piece almost always falls within a family palette regardless of what that palette is. Give them the win — “wear whatever you want as long as it’s a neutral” — and then work your palette around that anchor point.
Is it worth hiring a stylist for family photos?
For larger extended family sessions — grandparents, multiple families, fifteen-plus people — yes, absolutely worth it. For a single nuclear family of four or five, you can absolutely DIY it using a process like this one. The investment in a stylist pays off most when the logistics are genuinely complex, not when it’s one family that already has a functioning wardrobe.
Can I wear patterns in a humid outdoor session?
Yes, but limit it to one or two pieces in the group — not everyone. A floral print in the anchor palette’s colors on one person adds visual interest without creating chaos. The unwritten rule: mixing patterns without clashing tends to follow the “one pattern per group cluster” principle, and it works for family photos exactly the same way it works for individual styling.
After I rebuilt my whole approach using this exact process for a follow-up session last August — same beach, almost the same humidity — the difference was unreal. Everyone was comfortable enough to actually be present in the moment instead of tugging at clingy fabric or sweating through shirts. The photos looked effortlessly coordinated without looking like we’d overthought it. And honestly, that’s the goal. Not perfect. Just real, and a little prepared.