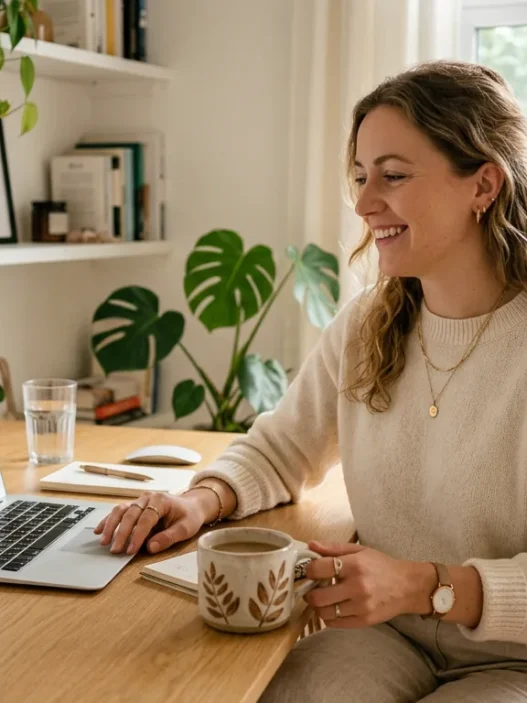


I used to wonder why my aesthetic outfits never looked quite right, even when I copied looks I loved online. Then I spent a day shadowing a stylist for a magazine shoot, and everything clicked. The difference wasn’t the clothes themselves — it was how she arranged every single element. She taught me this method, and now my outfits finally have that polished, intentional look I was chasing.
What You’ll Need
Here’s what I gather before styling any aesthetic look:
- A full-length mirror (seriously, this makes all the difference)
- Good natural lighting — window light works perfectly
- Your phone camera for checking angles
- A neutral base piece (white tee, basic jeans, simple dress)
- Statement accessories you love
- Multiple layering options
Step 1: What Separates Editorial from Everyday
The stylist showed me something that completely shifted my perspective. She held up two identical white t-shirts and said, “The difference between average and editorial isn’t the shirt — it’s everything else.” Editorial looks have intentional tension. Every piece serves a purpose in the overall composition.
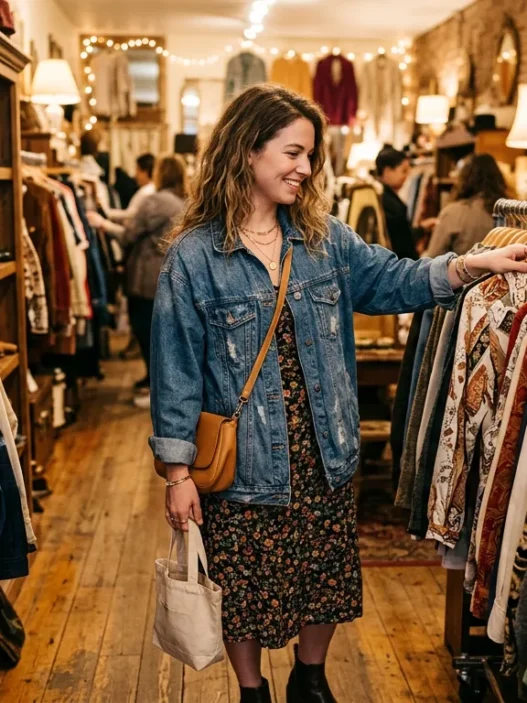
Start by choosing your hero piece — the one item that defines the aesthetic you’re going for. This could be vintage jeans, an oversized blazer, or chunky sneakers. Everything else supports this piece. I learned to ask myself: “If someone saw just this one item, would they understand the vibe I’m creating?”
The key is restraint. Stylists don’t throw everything aesthetic into one look. They pick one clear direction and commit to it completely.
Step 2: The Foundation Rule Stylists Swear By
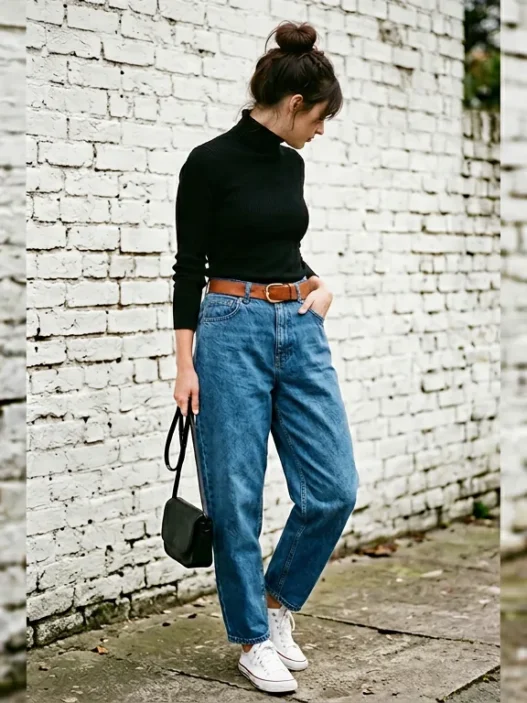
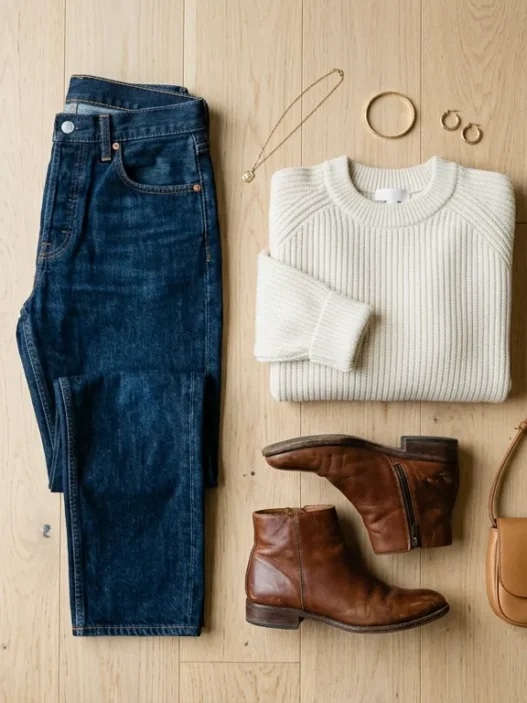
This changed everything for me. Stylists always start with what they call “the foundation triangle” — three pieces that create the silhouette before adding anything decorative. Usually it’s: something fitted, something flowing, and something structured.
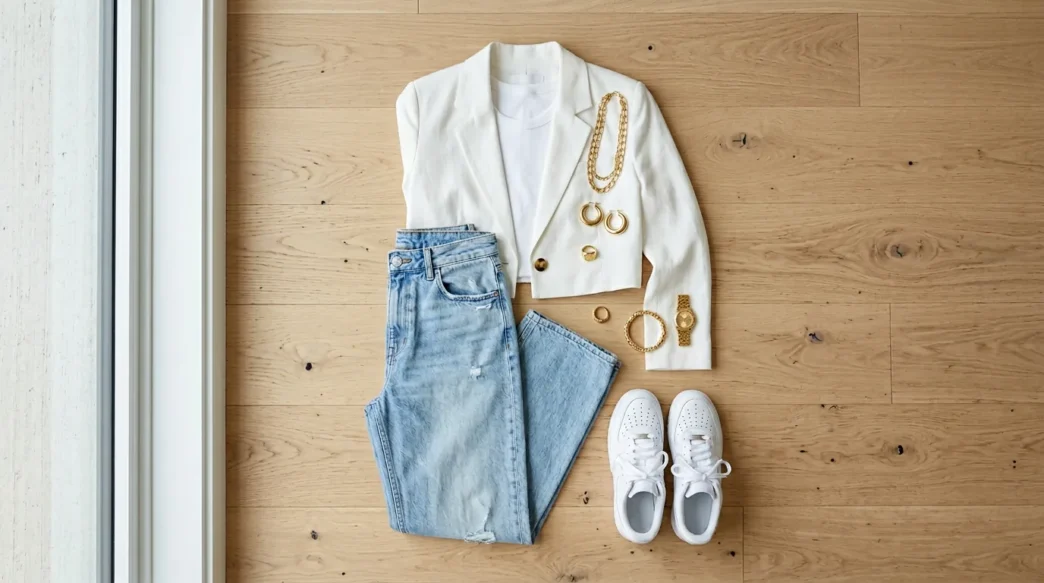
For example: fitted bodysuit (fitted) + wide-leg trousers (flowing) + cropped blazer (structured). Or: straight-leg jeans (structured) + oversized tee (flowing) + fitted leather jacket (fitted). This creates visual interest without looking chaotic.
My biggest mistake was trying to make every piece a statement piece. I’d pair an oversized graphic tee with baggy jeans and chunky sneakers, wondering why it looked sloppy instead of effortlessly cool. The foundation triangle taught me that balance comes from contrast, not matching energy levels.
Once your foundation is solid, everything else becomes easy. The silhouette does the heavy lifting, and accessories just enhance what’s already working.
Step 3: Creating Visual Weight Distribution
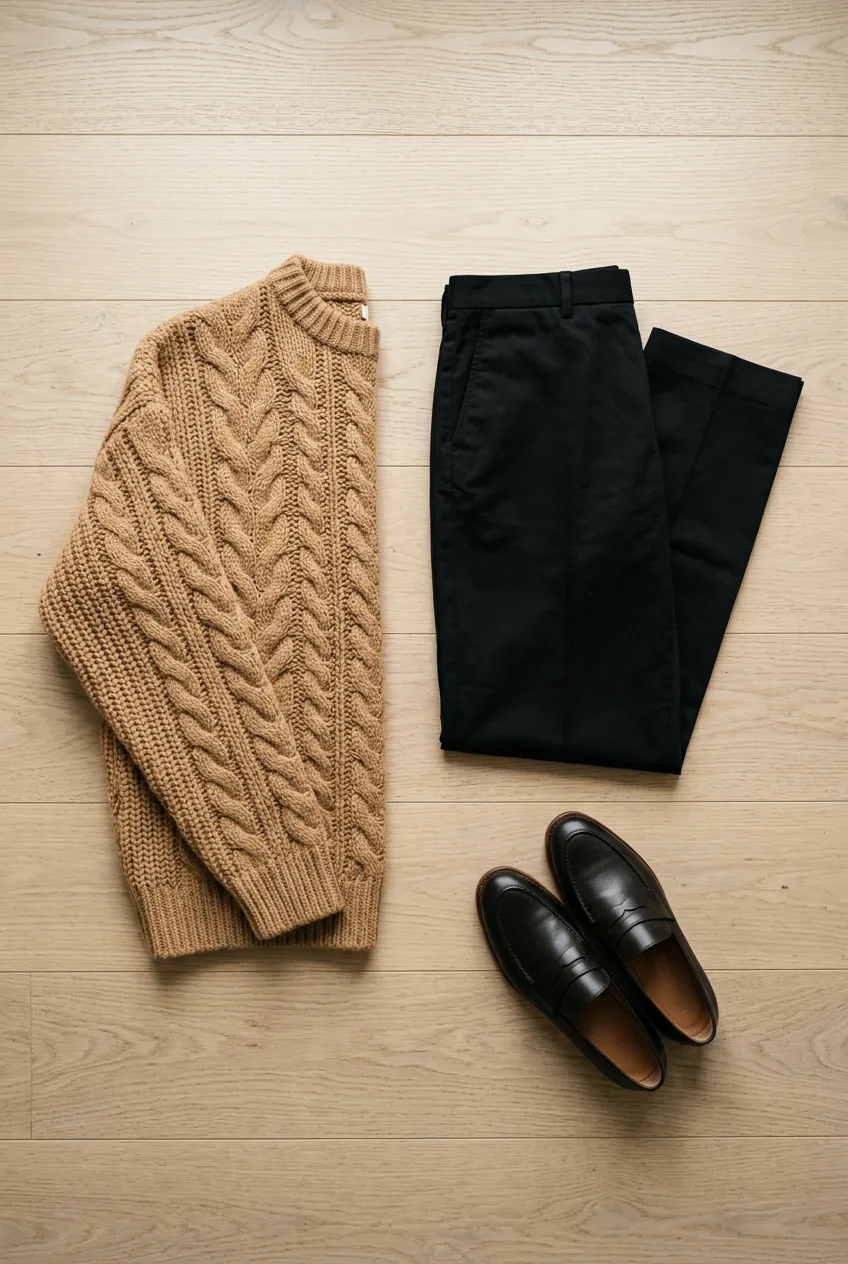
This is the trick that made me feel like I’d been styling with my eyes closed. Stylists think about visual weight — how heavy or light each part of your outfit feels to the eye. They never let all the weight sit in one area.
If your top is visually heavy (chunky knit, bold pattern, lots of texture), your bottom needs to be lighter (sleek pants, simple skirt). If you’re wearing statement shoes, keep everything else more minimal. It’s about creating a triangle of weight distribution across your whole look.
I practice this by squinting at my reflection. Where does my eye go first? If it’s all drawn to one spot, I need to redistribute. Maybe that means adding subtle jewelry up top when wearing statement boots, or switching to a simpler bag when my jacket has interesting details.
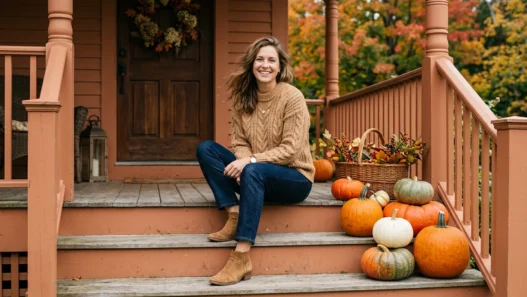
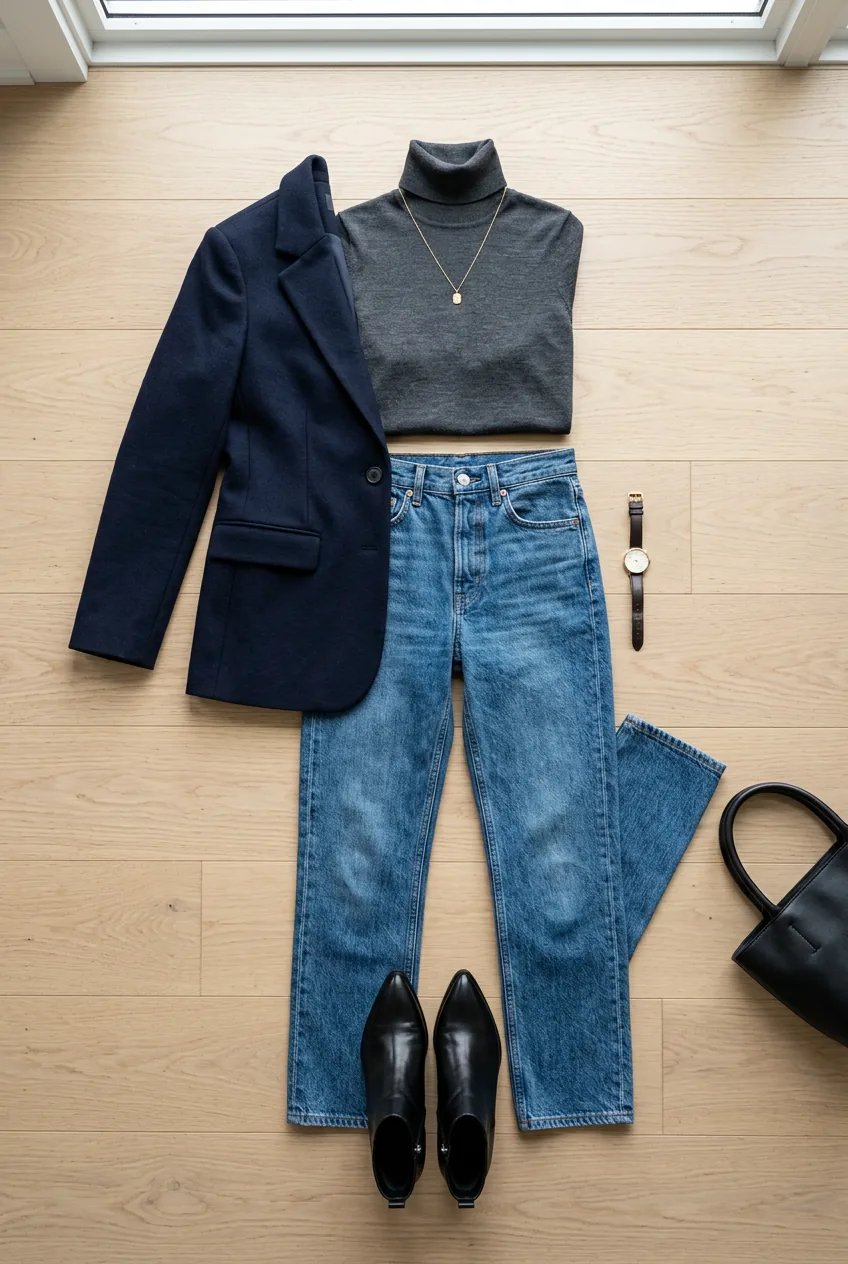
See the Weight Distribution in Action
Step 4: The Industry Color Balance Secret
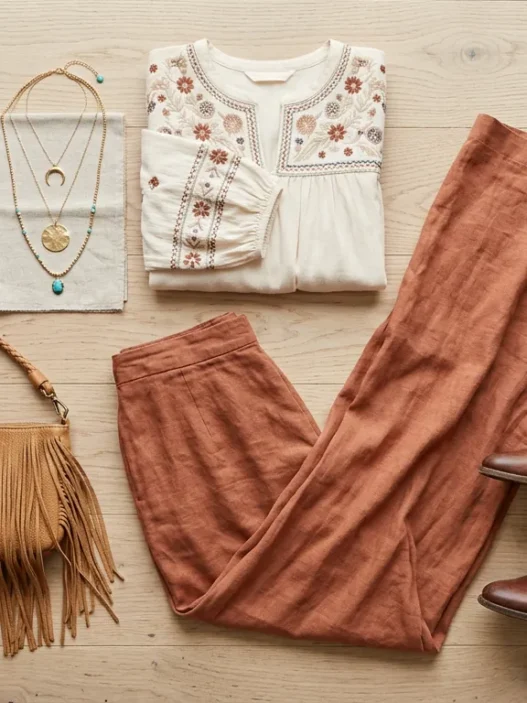
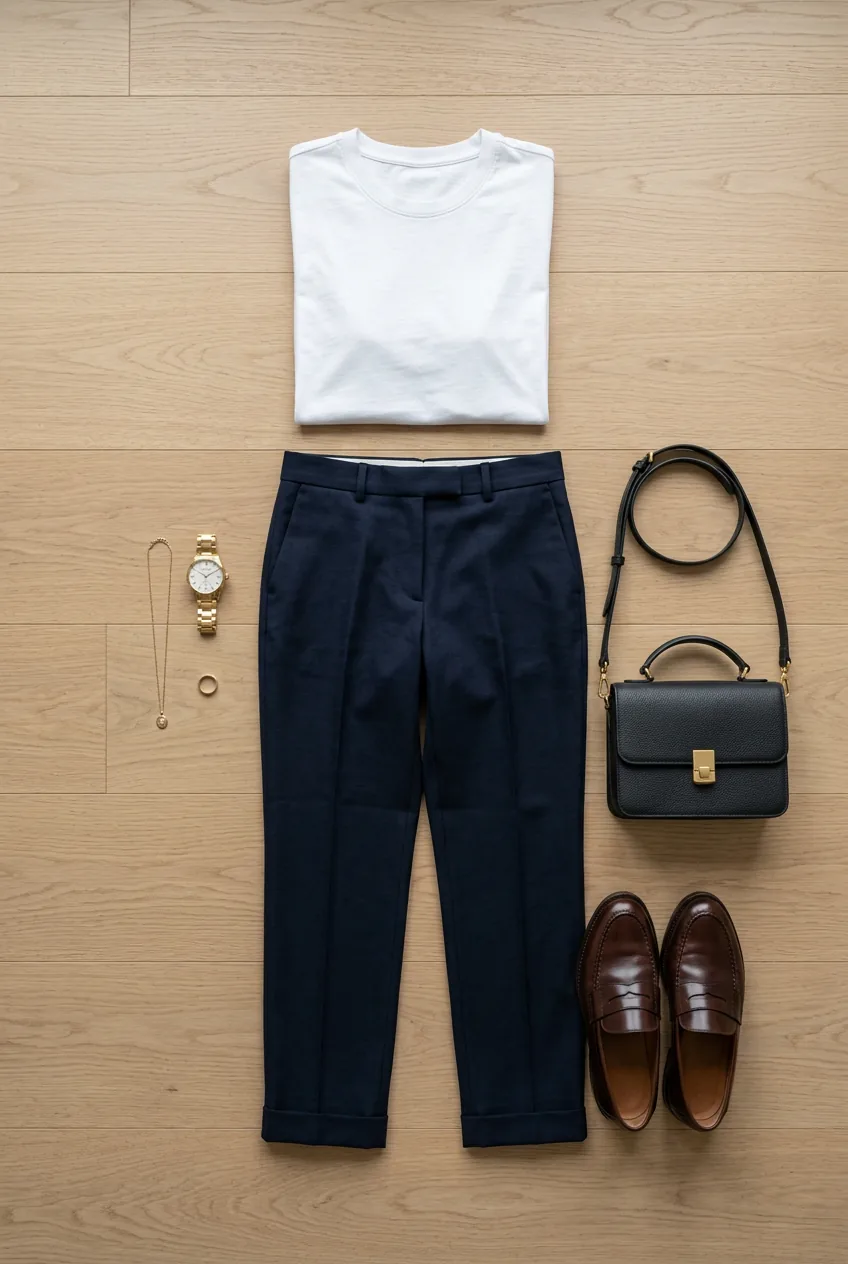
Here’s what separates amateur from professional: stylists never use more than three colors in one look, and one of them is always a neutral. This sounds limiting until you see how sophisticated it makes everything look.
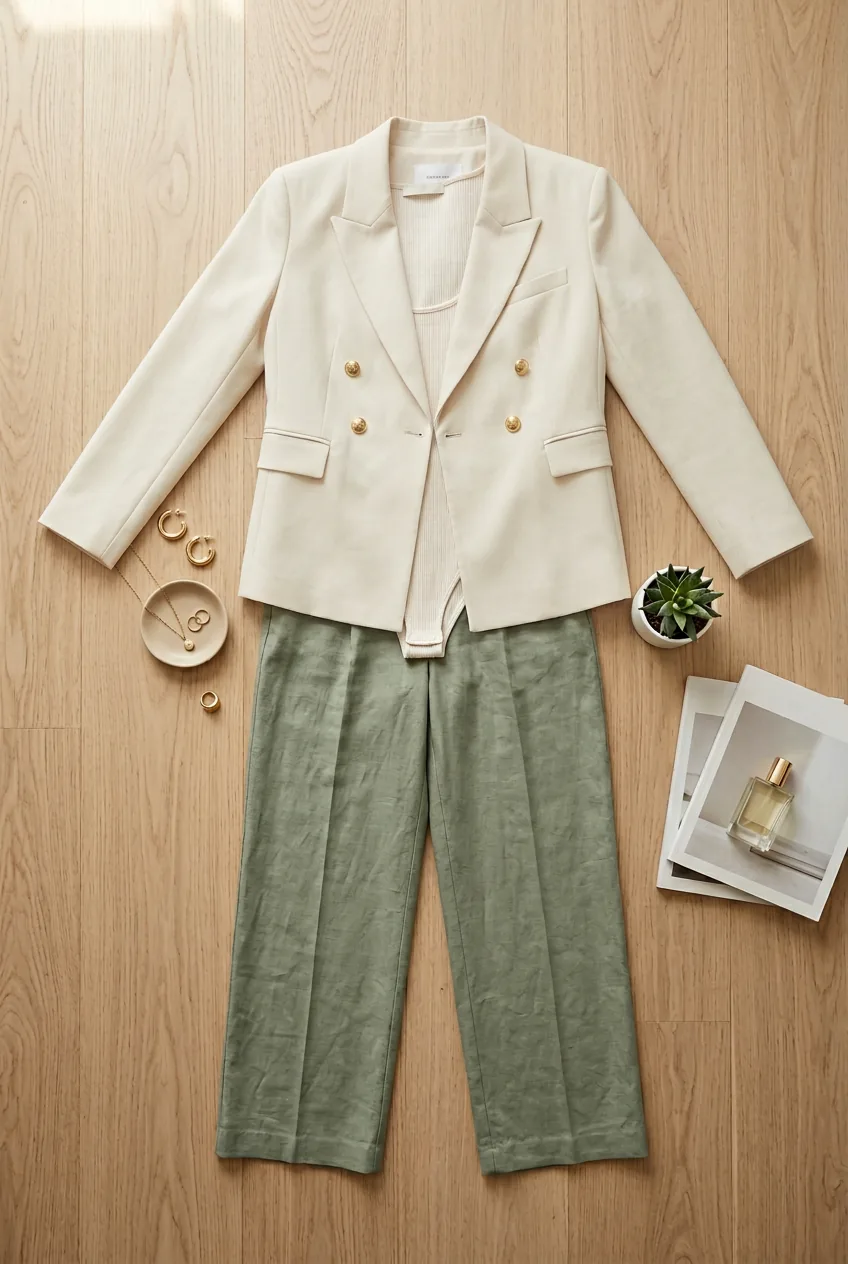
Pick your dominant color (usually 60% of the outfit), your secondary color (30%), and one accent (10%). The accent might be your lipstick, a belt, or the lining of your jacket. This creates cohesion without being matchy-matchy.
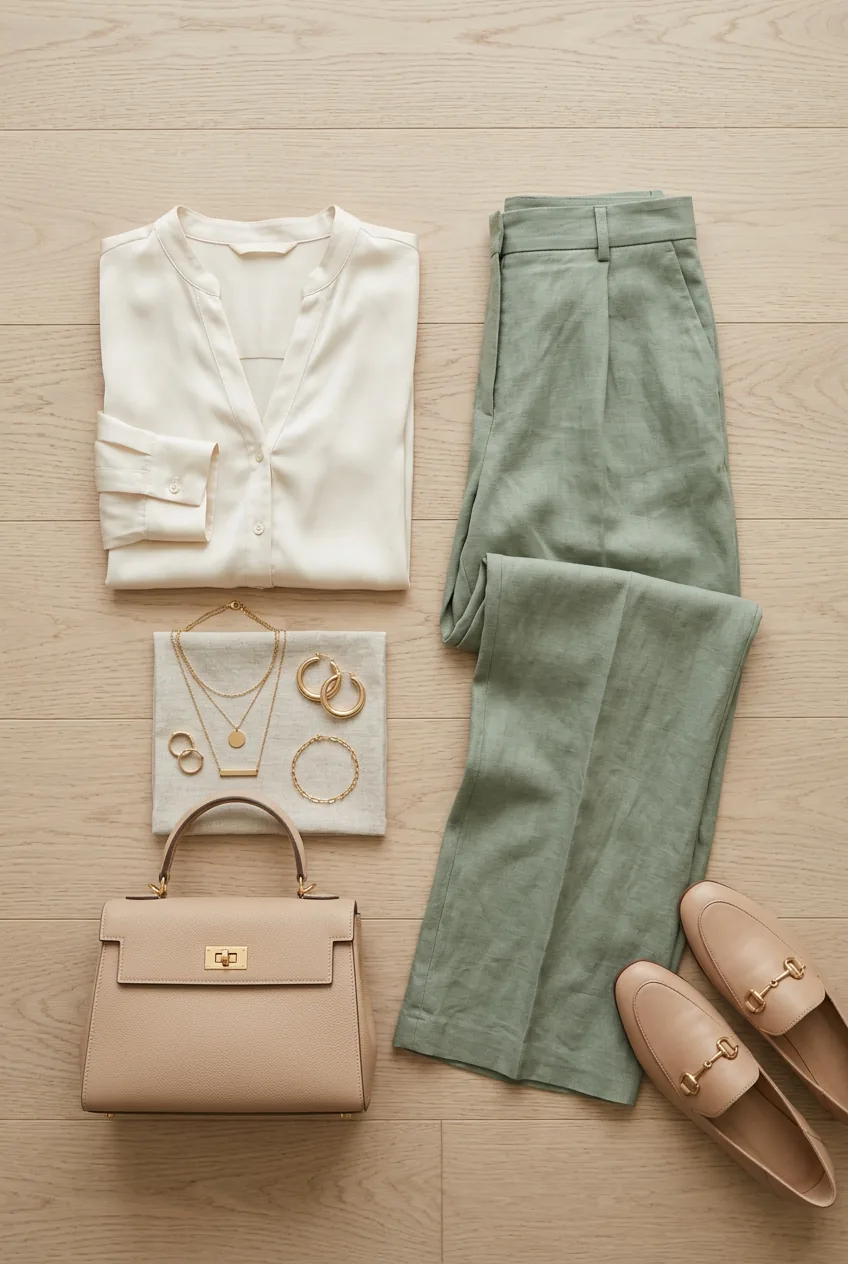
I’ve started thinking of my wardrobe in color stories. My current favorite is cream (dominant) + sage green (secondary) + gold accents. Once you nail a color formula, you can mix and match pieces endlessly while always looking put-together.
Step 5: Proportional Styling Like the Pros
Stylists obsess over proportion, and once I learned their tricks, I understood why. It’s not about following rules like “petite girls can’t wear oversized” — it’s about creating intentional proportion that flatters your specific body.
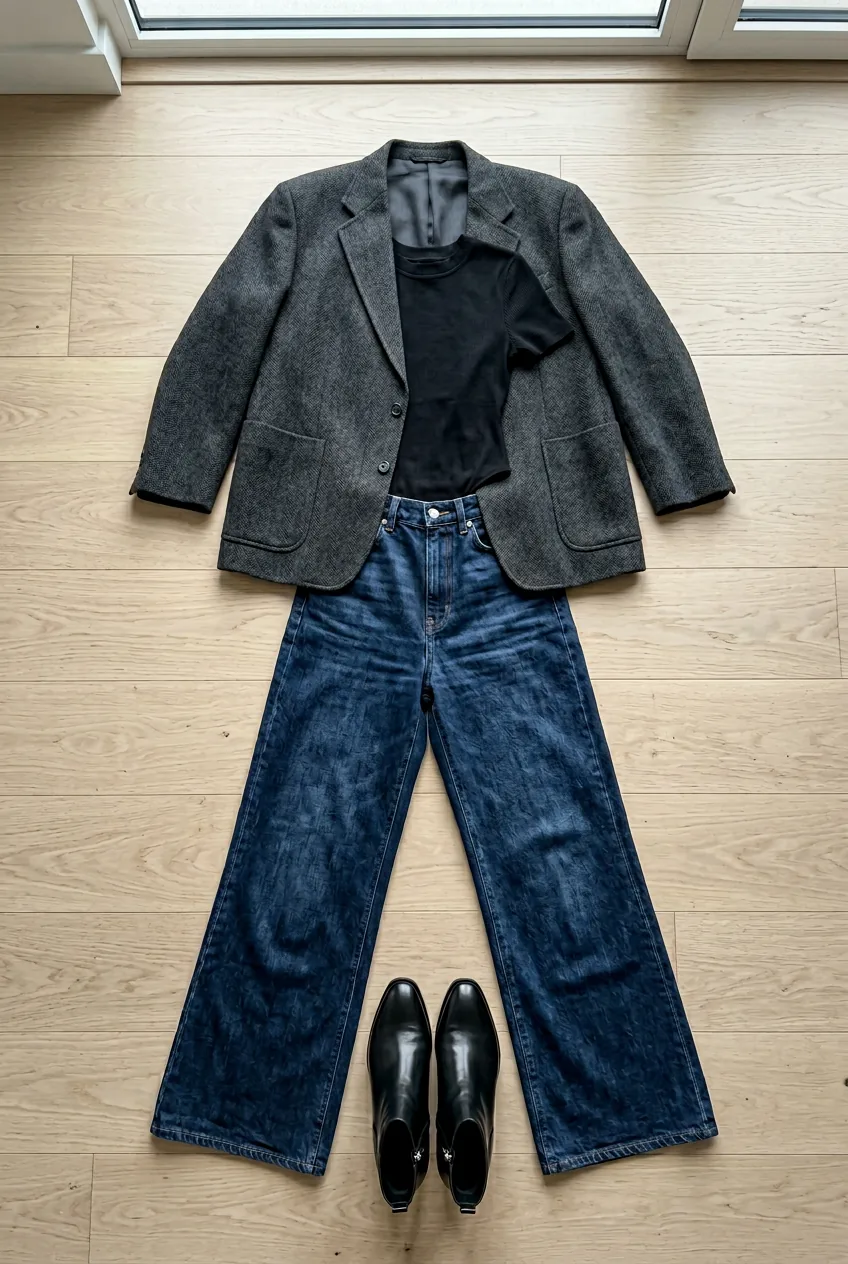
The golden rule: if one element is exaggerated, something else needs to be fitted to create contrast. Oversized blazer? Pair with fitted pants. Flowy maxi dress? Add a structured belt or fitted jacket. Wide-leg jeans? Choose a more fitted top.
But here’s the stylist secret: they also play with unexpected proportions for editorial impact. Sometimes they’ll pair two oversized pieces but ground them with sleek accessories, or mix fitted items with one dramatically oversized element. The key is making it look intentional, not accidental.
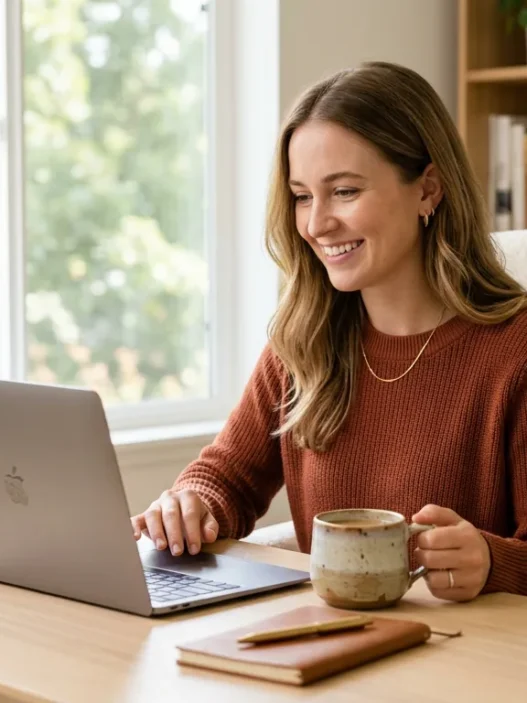
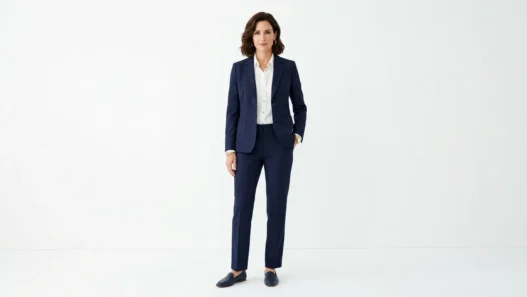
Step 6: Adapting Pro Tricks for Real Life
The stylist’s final lesson was the most valuable: editorial techniques need to work in your actual life. She showed me how to take these principles and make them practical for everything from work meetings to weekend errands.
Start small. Pick one styling principle and focus on it for a week. Maybe it’s the foundation triangle, or the three-color rule. Master that before adding complexity. I spent two weeks just working on visual weight distribution, and it revolutionized how I put outfits together.
Keep a photo record of outfits that work. I take mirror selfies of combinations I love, then analyze what made them successful. Was it the color balance? The proportion play? This builds your personal aesthetic fashion styles database.
Remember that confidence sells any look. The most important stylist trick isn’t technical — it’s wearing your choices with conviction. When you understand why your outfit works, that knowledge translates into how you carry yourself.
Making It Work With What You Have
You don’t need a celebrity budget to apply these principles. I’ve created some of my favorite bold summer outfits using basics from my existing wardrobe, just arranged with more intention.
Focus on fit and proportion first, then gradually invest in key pieces that expand your styling options. A well-fitted blazer, perfect-length jeans, and versatile accessories will serve you better than a closet full of trendy pieces that don’t work together.
Questions I Get About This Method
Does this work for every body type?
Absolutely. The principles adapt to any body because they’re about creating visual harmony, not following rigid rules. I’ve seen these techniques work on everyone from my 5’2″ friend to my 6′ tall sister.
How long does it take to get good at this?
I noticed a difference immediately, but it took about a month of consistent practice to make it feel natural. Start with one principle at a time rather than trying to master everything at once.
What if I prefer more maximalist styles?
These principles still apply — they just help you do maximalism with more intention. Visual weight distribution becomes even more important when you’re working with lots of elements.
Can I break these rules sometimes?
Once you understand the principles, breaking them strategically can create really interesting looks. But learn the foundation first — rules are most powerful when you know why they exist.
Using this method completely transformed my relationship with getting dressed. My outfits look more expensive, more intentional, and somehow more “me” than ever before. The best part? It’s actually easier now because I have a framework instead of just hoping something works.